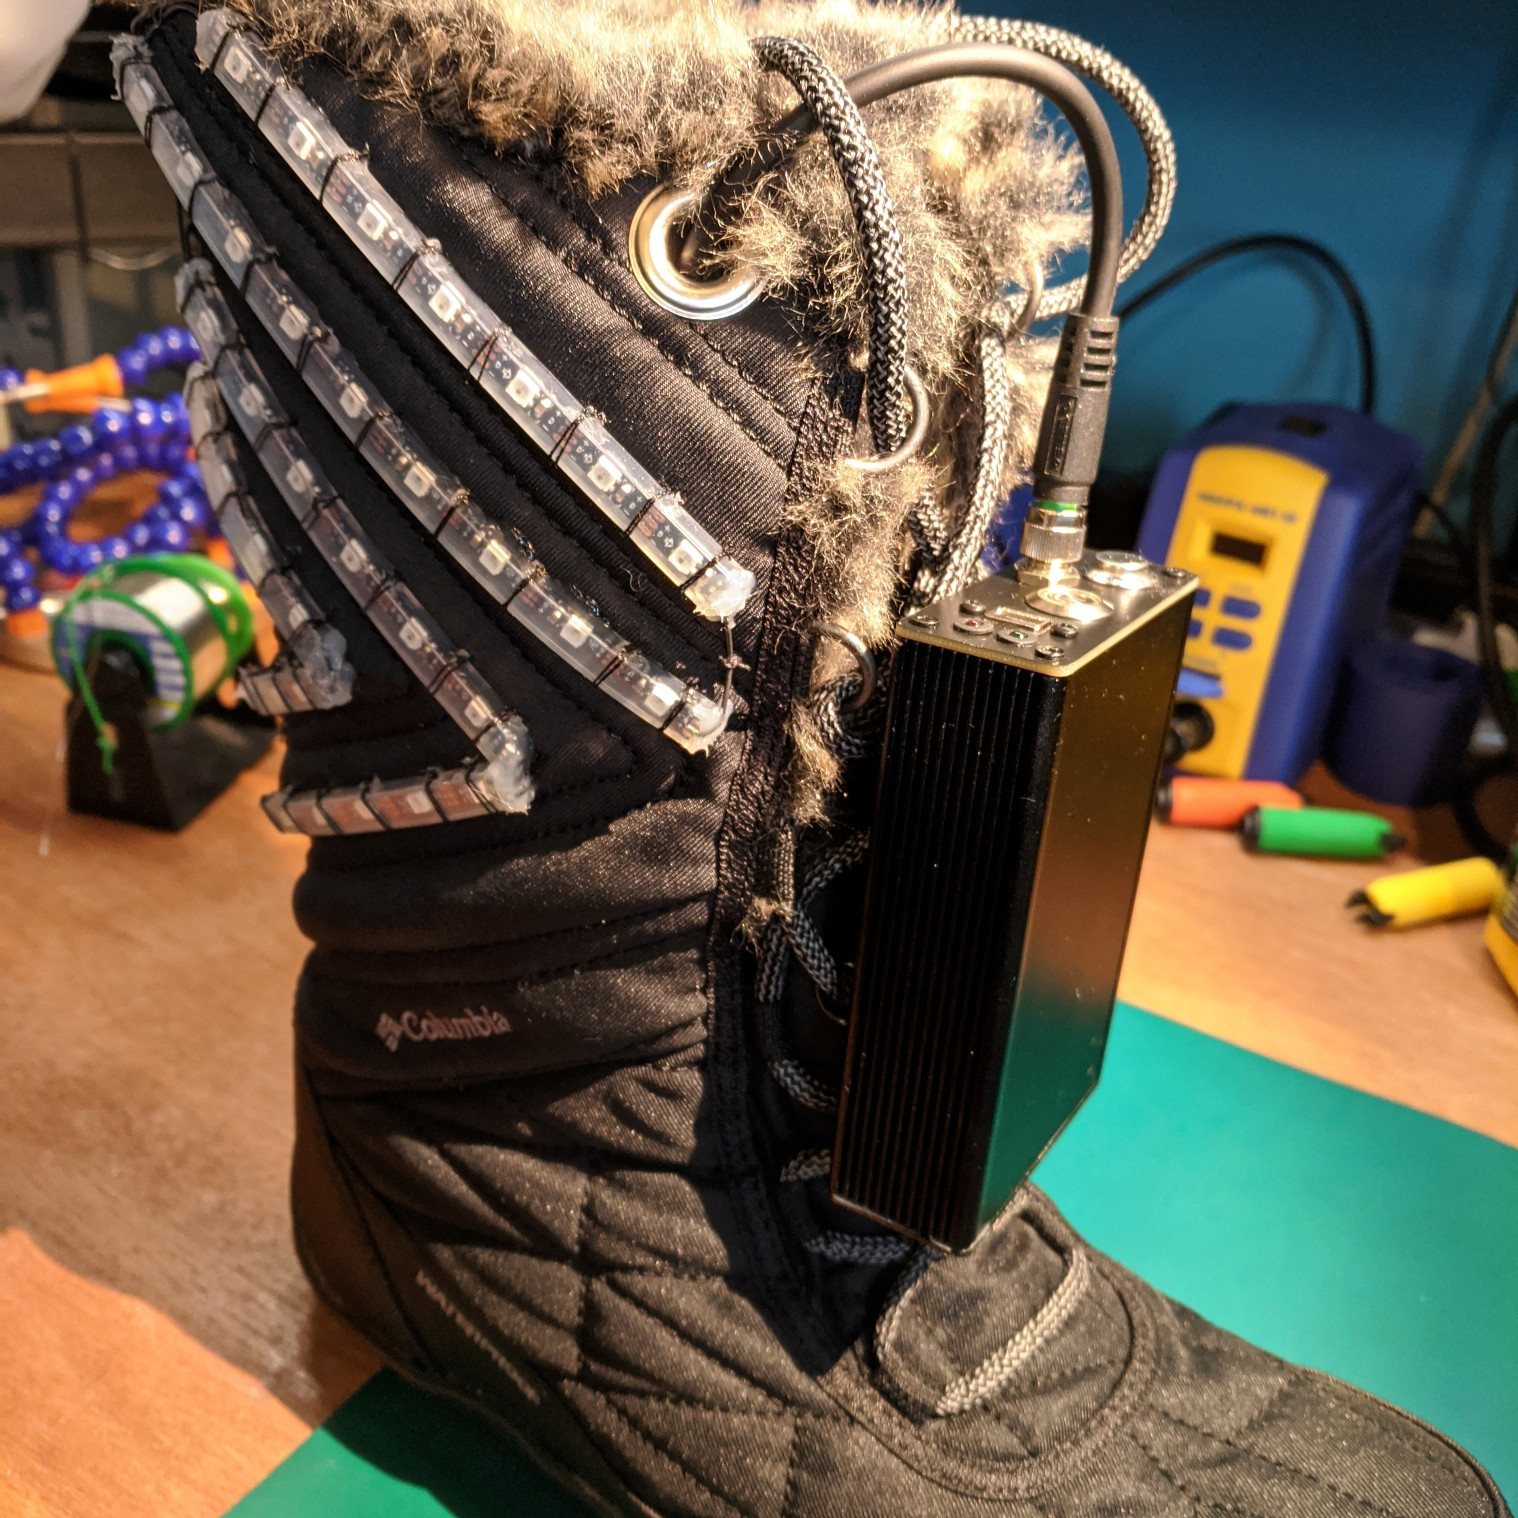
After the experience of needing to repair the V2 light boots after pretty much every time Sarra wore them I decided to make V3 with robustness in mind. Toward the end the LEDs are up away from the ground, so stepping on rocks shouldn’t be such an issue anymore. The electronics are also housed in a fully water-proof enclosure (including water proof ports!) so even rain shouldn’t be such an issue. Obviously this changes the effect of the LEDs so I needed to reimagine what the animations might look like and how the LEDs would be laid out. In the end I decided to go with a layout that mimics the existing stitching on the boots as much as possible for a maximally integrated look. These boots ended up being the most professional looking thing I’ve done to date.


When I build light art objects I often need to create a mapping between the led addresses and their position in space. A mapping like that is very useful for making interesting animations, etc. It’s normally something I create by hand, which is tedious and error prone, so automating the task has been on my mind lately (especially as I ponder larger projects with more leds).
I put together a prototype mapper that works from a simple photograph and builds a 2D mapping for me. That’s good enough for the V3 light boots, but I suspect this will only be a step on the path to one day doing full 3D mappings with a depth camera and some custom hardware.
Because this is just a prototype the process isn’t 100% automatic. For example, I need to manually give it some hints about how the different strips are connected by clicking on the start and end of each strip at a certain point in the process. Even though it’s still a bit rough it works and I’m very pleased. Clicking a few buttons is way better than making a bunch of fiddly measurements and calculations to do it myself!

